

46
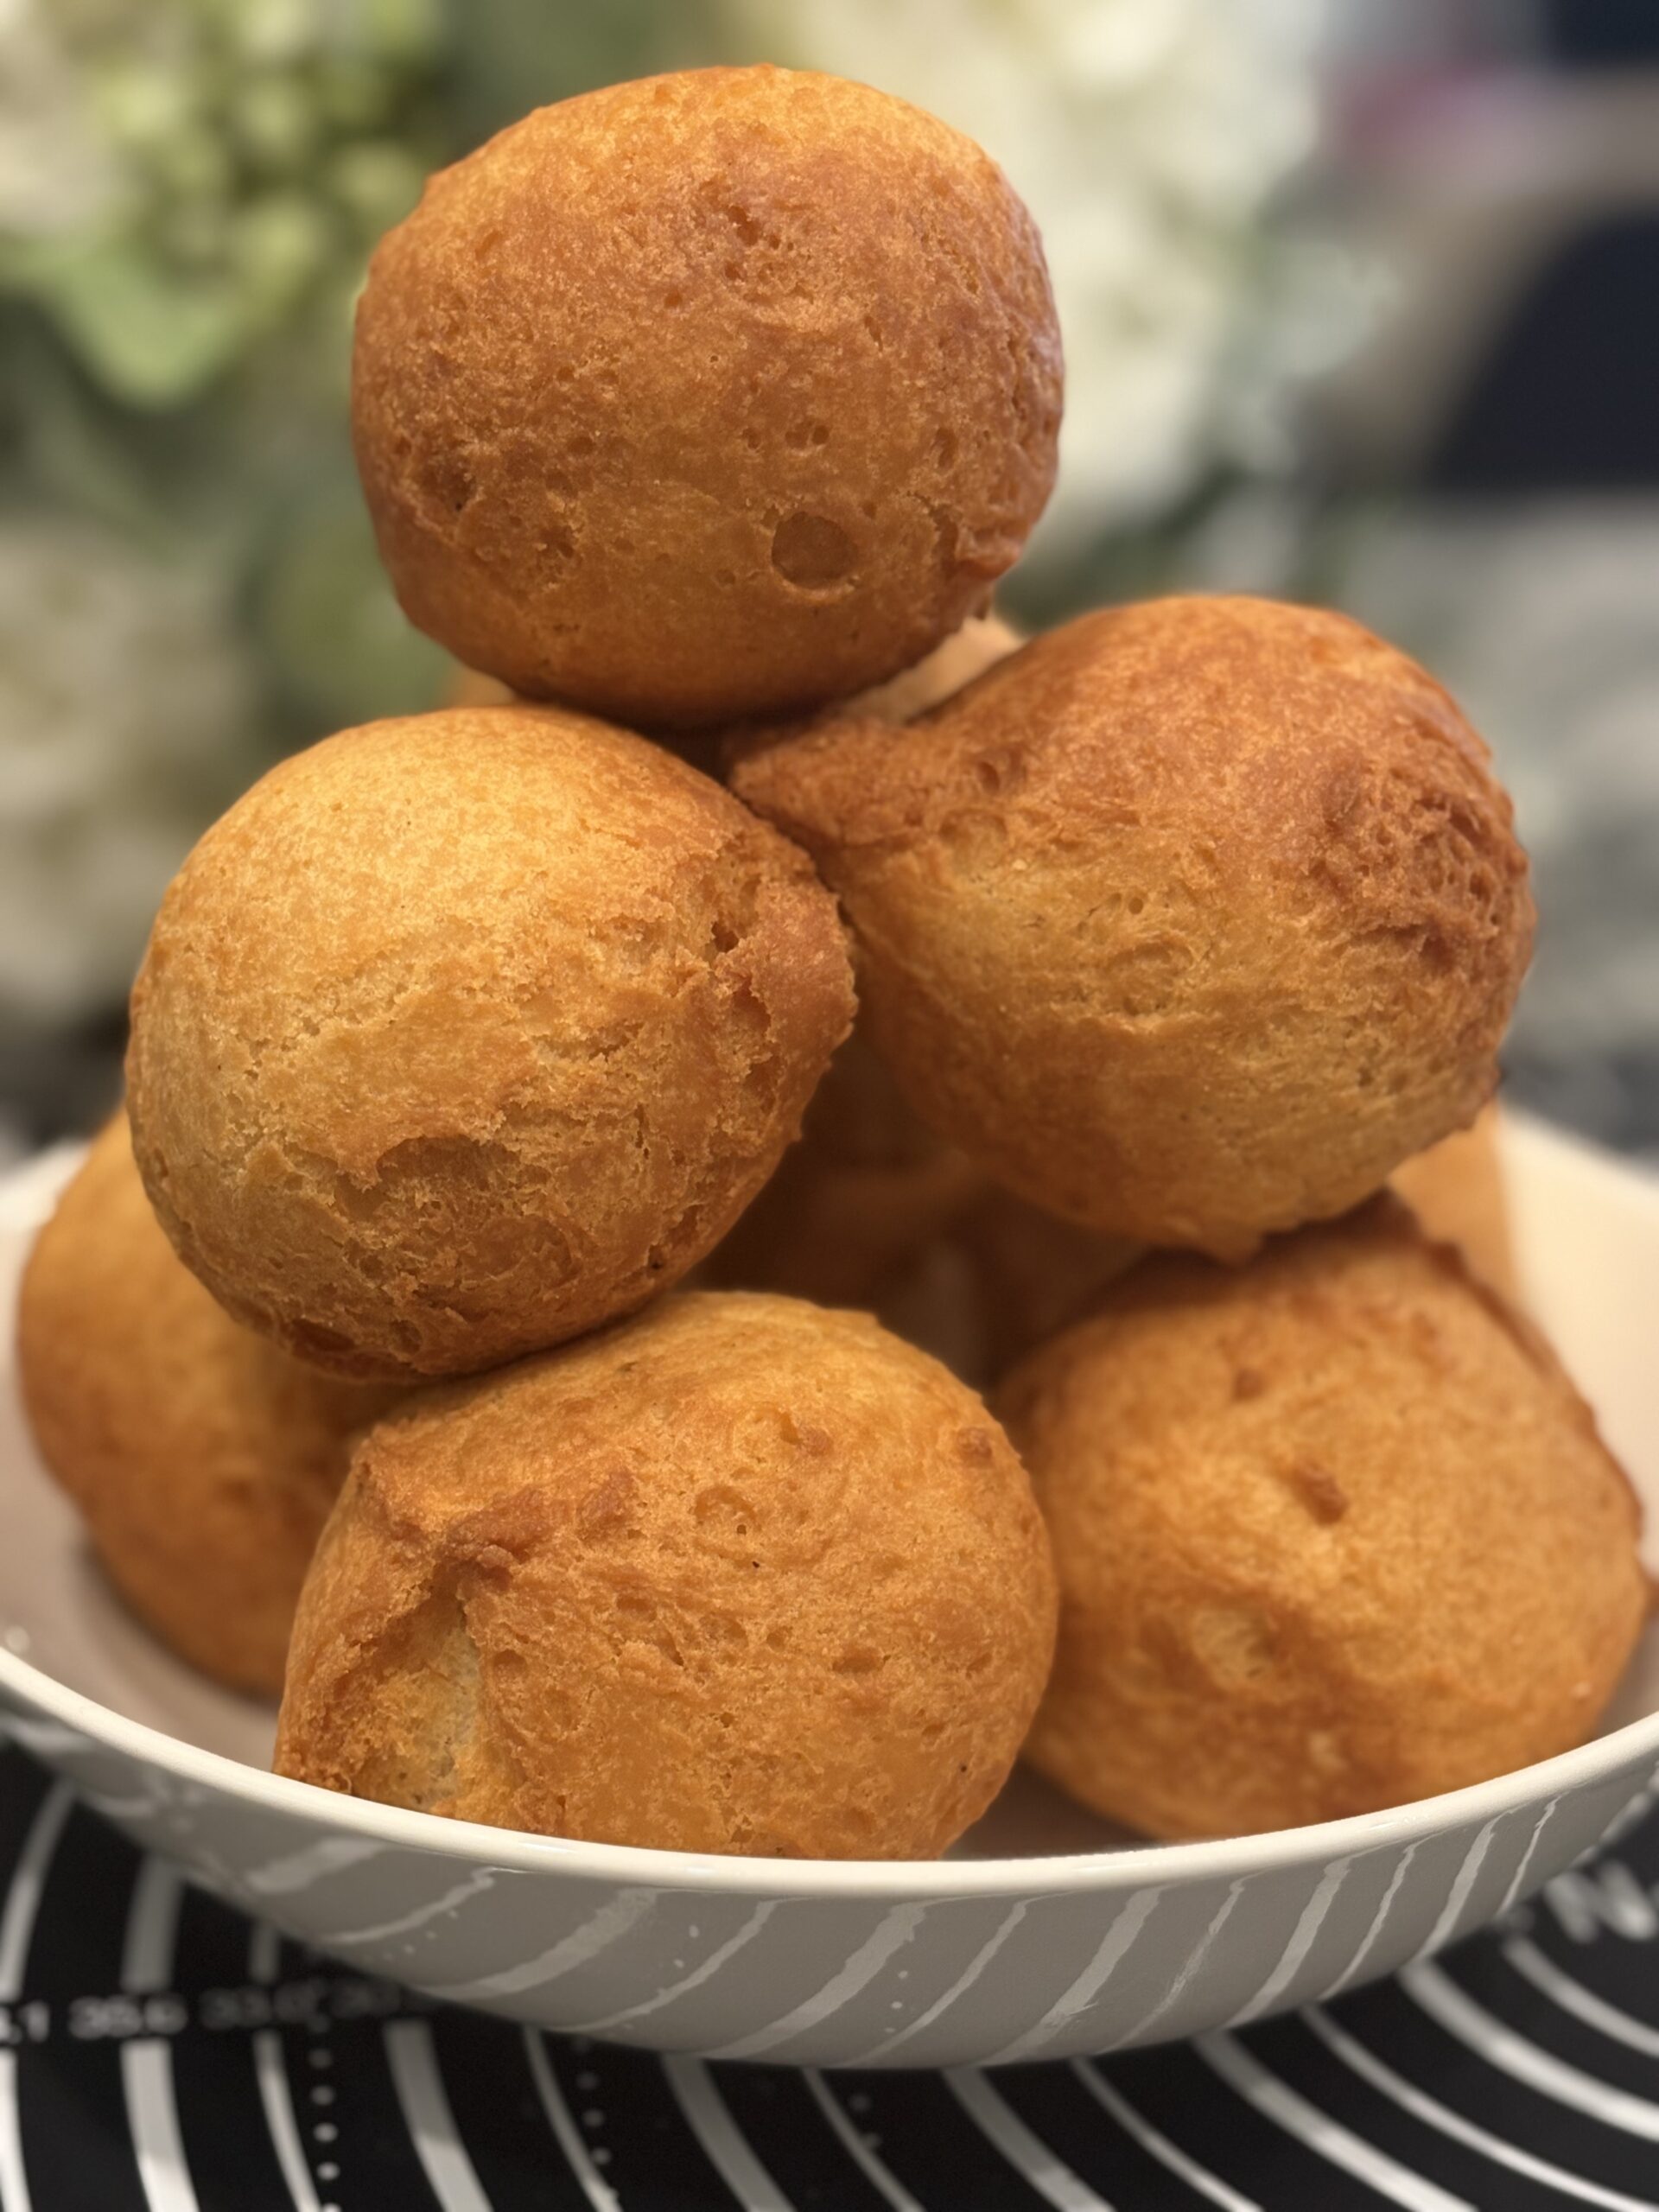
Crunchy Nigerian Buns Recipe (Beignets Sucrés) | Crispy Outside, Soft Inside
Every time I make Nigerian buns, someone always walks into the kitchen asking, "Are they ready yet?" The sweet smell of vanilla and nutmeg, the gentle sizzling in the oil, and watching the buns slowly turn golden brown make it almost impossible to wait. Before they even have a chance to cool, someone is already reaching for one.Whether you know them as Nigerian buns, Beignets Sucrés, or drop doughnuts, they're one of those snacks that disappear almost as soon as they come out of the oil. They're perfect for breakfast, an afternoon snack, birthdays, family gatherings, or whenever you're craving something sweet and comforting.Why You'll Love This Recipe• Crispy on the outside and soft on the inside.• Made with simple pantry ingredients.• Easy enough for beginners.• Perfect for breakfast, snacks, parties, and family gatherings.• Ready in about 30 minutes.• Made with my special ingredient for extra flavor and a soft, fluffy center.Once you try these homemade Nigerian buns, you'll want to make them again and again. So, let's get started!
Ingredients
Equipment
Method
How to Make Crunchy Nigerian Buns
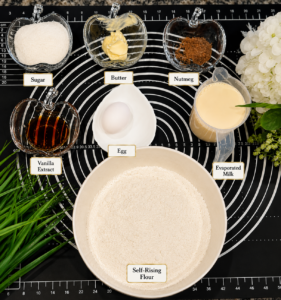
Step 1: Mix the Dry Ingredients
- Start by adding your self-rising flour to a large mixing bowl.
- I always like to sift my flour first because it removes any lumps and gives me a smoother batter. Since I’m using self-rising flour, I don’t need to add baking powder because it’s already mixed into the flour.
- Next, add the ground nutmeg and stir everything together until it’s evenly combined.
Step 2: Mix the Wet Ingredients
- In another bowl, add the evaporated milk, sugar, egg, melted butter, and vanilla extract.
- Whisk everything together until the sugar starts to dissolve and all the ingredients are well combined.
- Nothing complicated here. Just mix until everything comes together smoothly.
- The batter starts building its flavor at this stage, and the evaporated milk gives it a lovely rich smell.
Step 3: Make the Batter
- Now pour the wet ingredients into the bowl with the flour.
- Using a wooden spoon or spatula, gently mix until you no longer see any dry flour.
- One mistake people often make is overmixing the batter.
- Once everything comes together, stop mixing.
- If you keep stirring, your buns can become heavy instead of soft.
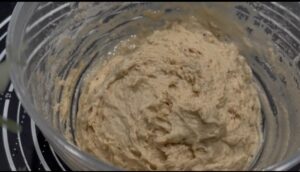
- The batter should be thick enough to scoop easily but still soft enough to drop into the hot oil without forcing it.
- What the batter should look like: It should slowly fall from the spoon without being runny. If it’s too thick, the buns can become dense. If it’s too thin, they’ll spread too much in the oil.
Step 4: Heat the Oil
- While your batter rests for a few minutes, pour vegetable oil into a deep pot and heat it over medium heat.
- Don’t rush this step.
- If the oil is too hot, the buns will brown very quickly on the outside while the inside stays raw.
- If the oil isn’t hot enough, they’ll soak up too much oil and become greasy.
- I always test mine by dropping a tiny bit of batter into the pot.
- If it rises gently with small bubbles around it, I know the oil is ready.
- Patience here makes all the difference.
Step 5: Fry the Buns
- Using an ice cream scoop or spoon, gently drop portions of batter into the hot oil.
- Don’t overcrowd the pot because the buns need room to expand as they cook.
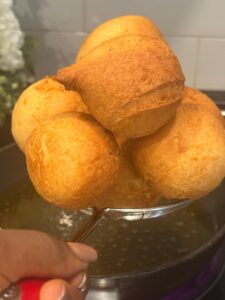
- As they fry, use a toothpick or bamboo skewer to gently turn them from time to time. This helps them cook evenly on every side and gives them that beautiful golden brown color all around.

- Keep frying until they’re evenly browned, then transfer them to a plate lined with paper towels or a wire rack to drain any excess oil.
- Enjoy!
- These are the little things I've learned after making Nigerian buns many times, and they really do make a difference.
Cook With Sonita Tips
Don’t Rush the Oil
- Good Nigerian buns take patience. Medium heat gives the inside enough time to cook before the outside turns beautifully golden and crunchy.
Don’t Overmix the Batter
- Once the batter comes together, stop mixing. Overmixing can make the buns heavier than they should be.
Leave Space in the Pot
- Frying too many buns at once lowers the oil temperature and prevents them from cooking evenly.
Turn Them Gently
- I like using a toothpick because it’s easy to control and doesn’t damage the buns while they’re frying.
Enjoy Them Warm
- For me, Nigerian buns are at their very best while they’re still warm. The outside is wonderfully crunchy, and the inside is soft, light, and fluffy.
- Don’t skip mixing the dry ingredients first. It helps distribute the nutmeg evenly throughout the batter.
Nutrition
Video
Notes
Troubleshooting
If your buns didn’t turn out exactly how you expected, don’t worry. Here are a few common problems and how to fix them.Why are my buns oily?
The oil probably wasn’t hot enough before you started frying. Always test the oil with a small drop of batter before adding the rest.Why are my buns hard?
This usually happens when the batter is overmixed or too much flour has been added. Mix only until everything comes together.Why are my buns raw in the middle?
The oil was likely too hot, causing the outside to brown before the inside had time to cook. Lower the heat slightly and fry a little longer.Why did my buns spread too much?
Your batter may have been too thin. It should be thick enough to scoop while still dropping easily from the spoon.Why aren’t my buns crunchy?
Make sure you’re frying over medium heat and allow the buns to cook until they’re evenly golden brown before removing them from the oil.Easy Variations
One thing I love about this recipe is how easy it is to make it your own. Once you’ve mastered the basic recipe, you can have fun trying a few different flavors. Here are some simple ideas:Add Cinnamon
Replace the nutmeg with ground cinnamon, or use a little of both for a warm, cozy flavor.Add Citrus
A little grated lemon or orange zest gives the buns a fresh, bright taste that’s perfect any time of the year.Add Raisins
If your family enjoys raisins, stir a handful into the batter before frying. They add little bursts of sweetness in every bite.Add Coconut
Mix in a little shredded coconut for extra texture and flavor. Whichever variation you choose, keep the batter consistency the same so your buns fry evenly.What to Serve with Nigerian Buns
These crunchy Nigerian buns are delicious all by themselves, but I also enjoy serving them with a warm or refreshing drink. Some of my favorites are:- A hot cup of tea
- Coffee
- Hot chocolate
- Fresh fruit juice
- Homemade ginger drink
- Pap (Akamu or Ogi)
- Custard
How to Store Nigerian Buns
If you have any leftovers, let the buns cool completely before storing them. Place them in an airtight container and keep them at room temperature for up to 2 days. Although they’re best enjoyed fresh, they’ll still taste great the next day.Can You Freeze Nigerian Buns?
Yes! Once the buns have cooled completely, place them in a freezer-safe container or freezer bag. They’ll keep well in the freezer for up to 2 months. When you’re ready to enjoy them again, simply reheat them until they’re warm.How to Reheat Nigerian Buns
Air Fryer
Reheat at 350°F (175°C) for 3 to 4 minutes until they’re warm and crispy again.Oven
Bake at 350°F (175°C) for about 5 to 7 minutes.Microwave
Heat for about 15 to 20 seconds if you don’t mind a softer texture. The microwave warms them quickly, but they won’t be quite as crunchy as when reheated in the oven or air fryer.Frequently Asked Questions
Can I use all-purpose flour?
Yes. Since all-purpose flour doesn’t contain a raising agent, you’ll need to add baking powder before mixing the batter.Can I use water instead of evaporated milk?
Yes, you can. However, I prefer evaporated milk because it gives the buns a richer flavor and helps keep the inside soft while the outside becomes beautifully crunchy.Why are my buns oily?
This usually means the oil wasn’t hot enough before you started frying. Always test the oil with a small drop of batter first.Why are my buns hard?
Overmixing the batter or adding too much flour can make the buns hard instead of soft.Can I make the batter ahead of time?
Yes, but I recommend frying the buns the same day for the best texture and flavor.Can I freeze Nigerian buns?
Absolutely. Let them cool completely before storing them in a freezer-safe container.Can I bake Nigerian buns instead of frying them?
This recipe is designed for deep frying, which gives Nigerian buns their signature crunchy outside and soft center. Baking will give you a different texture.Can I reduce the sugar?
Of course. If you prefer your buns less sweet, simply reduce the amount of sugar to suit your taste.How do I know when the oil is ready?
Drop a tiny bit of batter into the oil. If it rises gently with small bubbles around it, the oil is ready for frying.Why do my buns cook too quickly?
Your oil is probably too hot. Reduce the heat slightly so the inside has enough time to cook before the outside becomes too dark.More Recipes You’ll Love
If you enjoyed these crunchy Nigerian buns, here are a few more homemade treats I think you’ll love:- Butter Puff Puff
- Yogurt Puff Puff
- Banana Puff Puff
- Carrot Puff Puff
- Puff Puff with My Secret Ingredient
- Chin Chin
- Cameroonian Gateau (Dry Bofrot)
Kitchen Tools I Used
These are some of the kitchen tools I use regularly when making Nigerian buns:- Large mixing bowl
- Measuring cups and spoons
- Ice cream scoop
- Deep frying pot
- Slotted spoon
- Cooling rack
Stay Connected
If you enjoyed this recipe, I’d love to stay connected! I share step-by-step recipe videos, quick cooking tips, kitchen inspiration, and behind-the-scenes moments across my social media. Come and join me on:- YouTube: Cook With Sonita
- Facebook: Cook With Sonita
- Instagram: Cook With Sonita
- Pinterest: Cook With Sonita
- TikTok: Cook With Sonita
- Twitter: Cook With Sonita
