

66
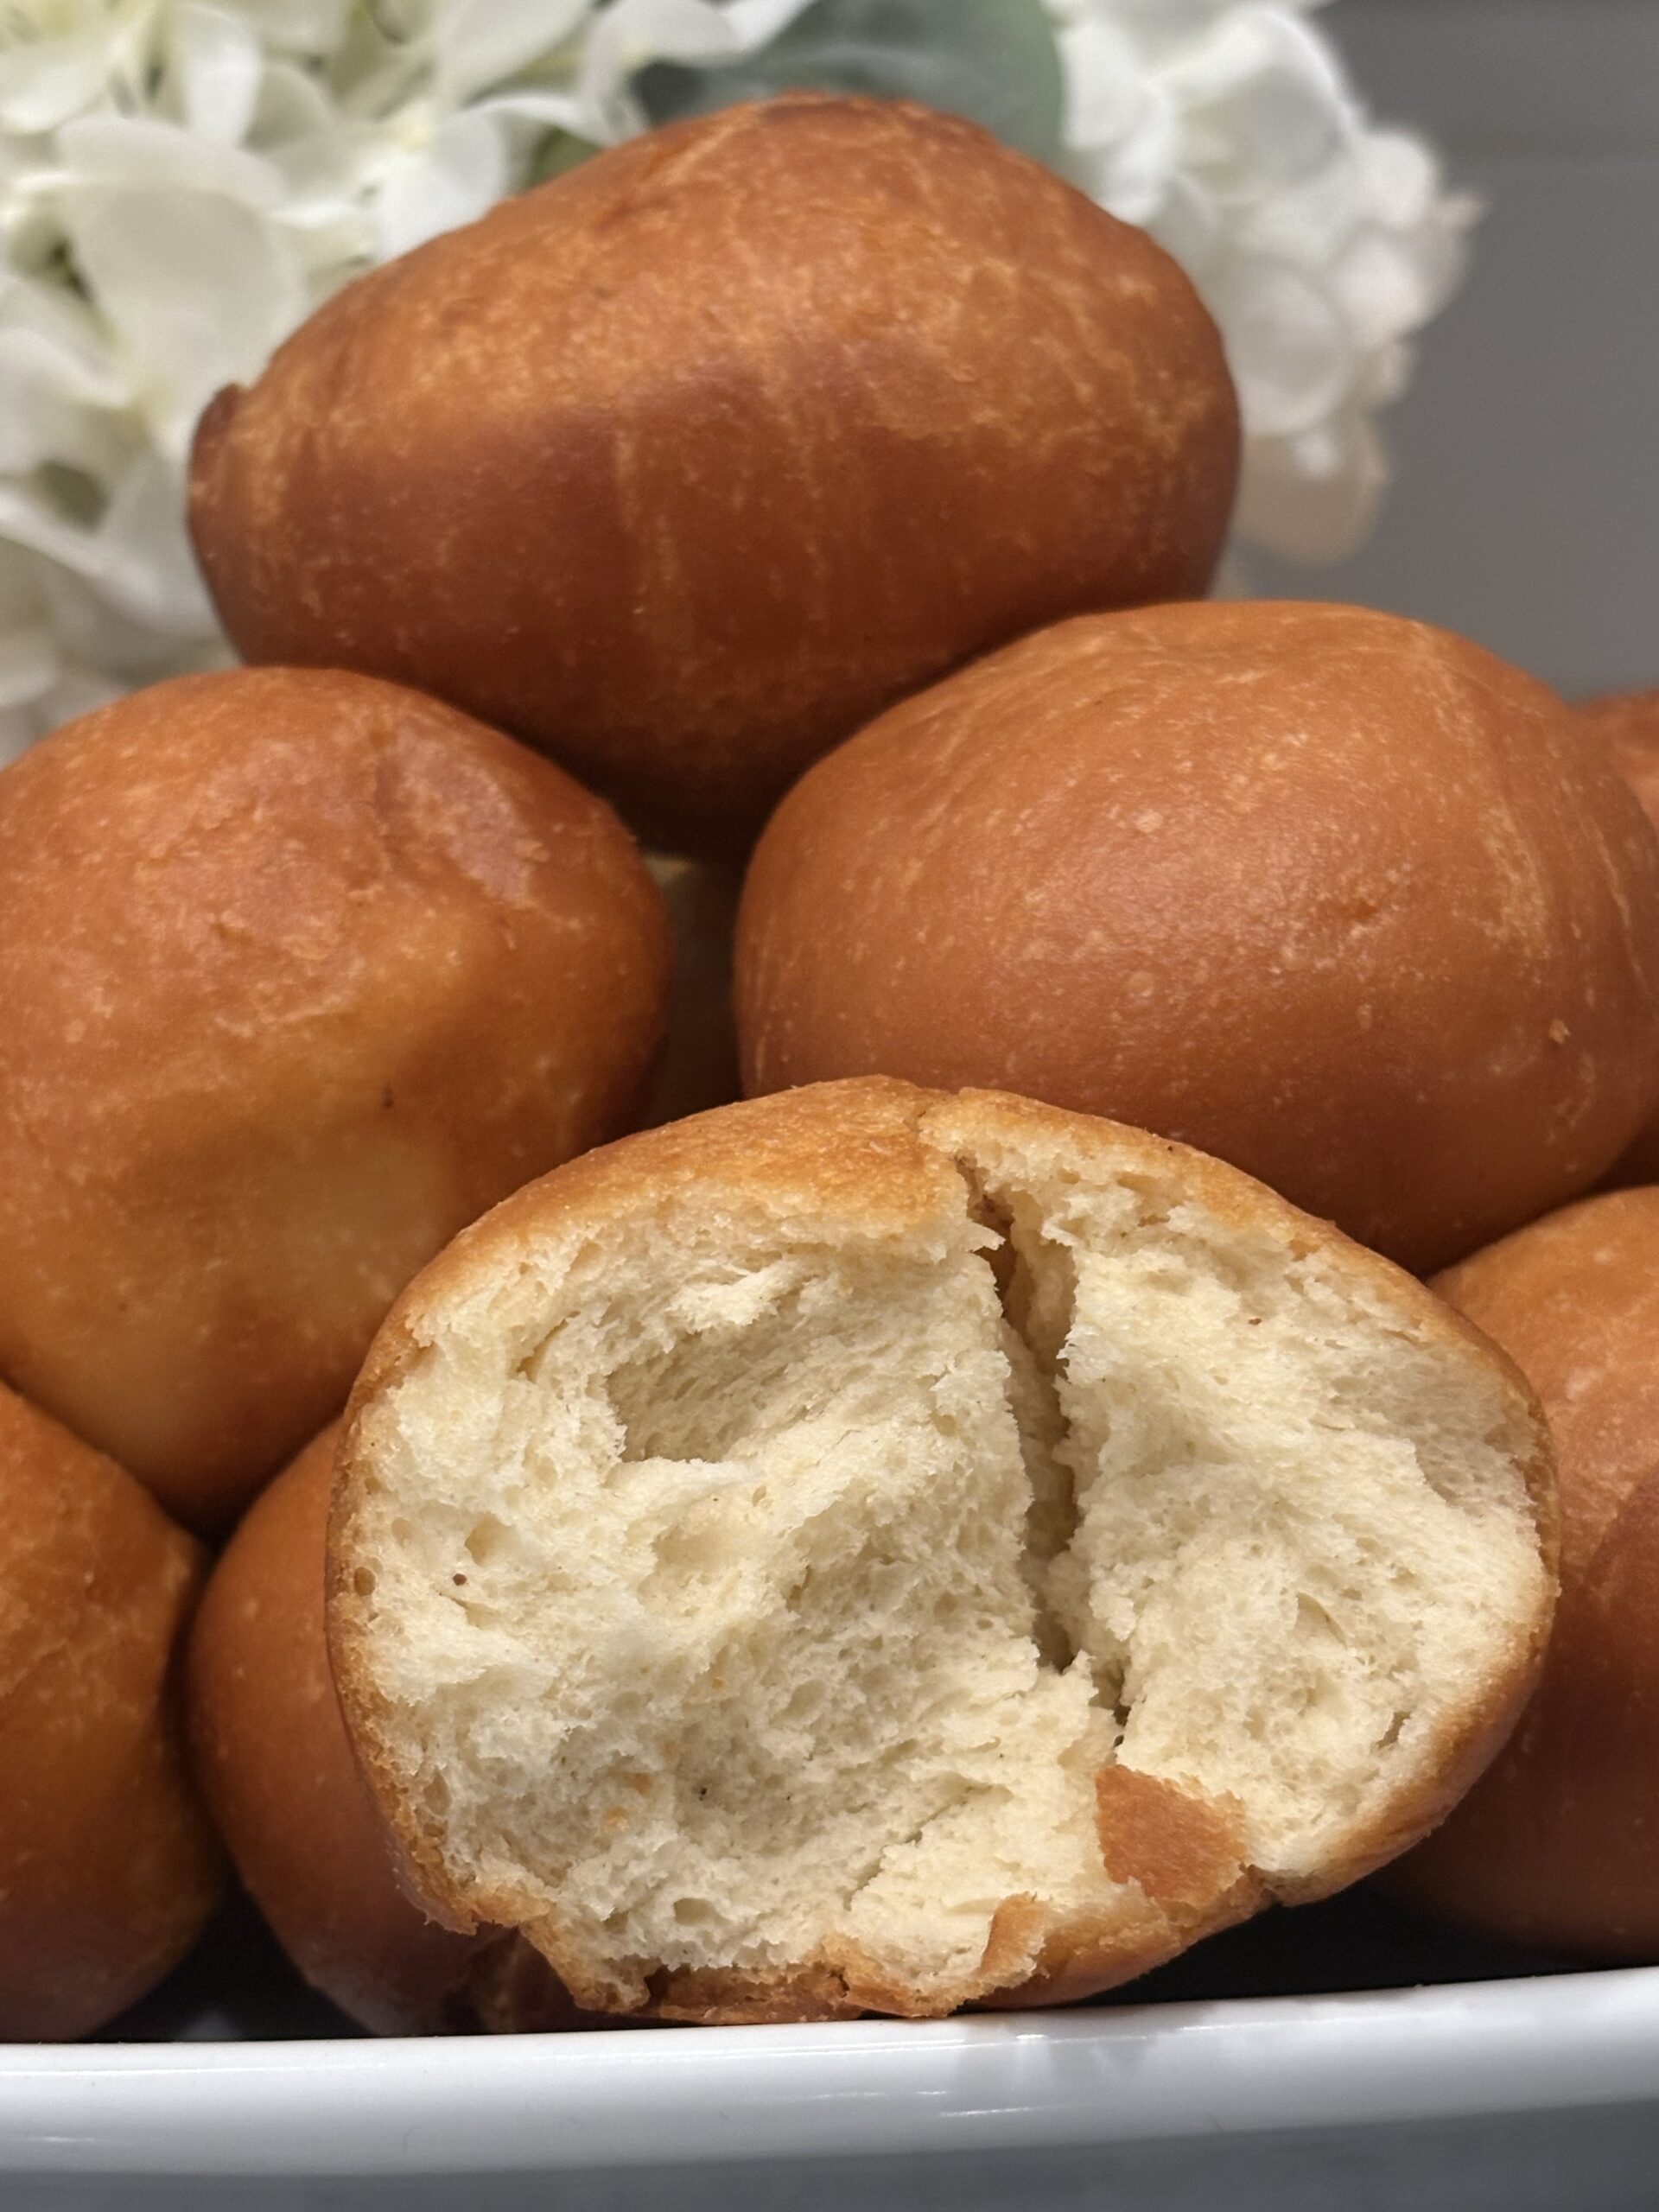
Soft Cameroonian Gateau (Dry Bofrot) Recipe | Soft, Fluffy & Easy for Beginners
Learn how to make soft Cameroonian Gateau (Dry Bofrot) from scratch with simple ingredients. This beginner-friendly recipe is soft, fluffy, lightly sweet, and can also be used to make homemade bread rolls. Follow my step-by-step method for perfect results every time.Soft Cameroonian Gateau (Dry Bofrot)Growing up in Cameroon, whenever my mum made Gateau, the smell filled the whole house before the first batch even came out of the oil. My siblings and I could never wait for them to cool. We'd stand beside the stove hoping to get the first warm piece. That's exactly the feeling I wanted to recreate with this recipe.Whether you grew up calling it Cameroonian Gateau, Dry Bofrot, Toogbei, or another local name, I hope this recipe brings back wonderful memories and becomes one you'll make again and again.Why You'll Love This Recipe• Light, soft, and irresistibly fluffy every time.• Easy enough for beginners with foolproof results.• Made with simple everyday pantry ingredients.• One versatile dough for two delicious treats.• Perfect for breakfast, family gatherings, holidays, parties, and special occasions.
Ingredients
Equipment
Method
How to Make Soft Cameroonian Gateau (Dry Bofrot)Step-by-step
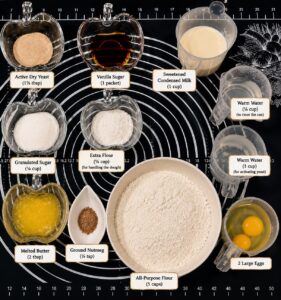
Step 1: Activate the Yeast
- Pour 1 cup of warm water into a mixing bowl. The water should feel warm when you dip your finger into it, but it shouldn’t be hot. If it’s too hot, it can kill the yeast before it has a chance to work.
- Add the active dry yeast to the warm water, followed by the granulated sugar. Give everything a quick stir until the yeast is dissolved.
- Now leave it alone for about 10 minutes.
- This waiting time is important because it tells you whether your yeast is still active. After a few minutes, you should see a thick layer of foam on top.
- If nothing happens after 10 minutes, don’t continue with the recipe. Your yeast may have expired, and the dough won’t rise properly. It’s always better to start with fresh yeast than waste the rest of your ingredients.
If your kitchen is cold, place the bowl somewhere slightly warm while the yeast activates. It will foam more easily.
Step 2: Prepare the Wet Ingredients
- Crack the two eggs into a large mixing bowl and whisk them until they're smooth.
- Next, pour in the sweetened condensed milk.
- Once the can is empty, don’t throw it away just yet.
- Add ¼ cup of warm water to the can, swirl it around, and pour every last bit into the bowl.
- Now add:
- Melted butter
- Vanilla sugar
- Ground nutmeg
- Whisk everything together until the mixture looks smooth and creamy.
- At this point, your kitchen already starts smelling wonderful from the vanilla and nutmeg.
Step 3: Combine Everything Together
- By now, your yeast should be nice and foamy.
- Pour the activated yeast into the bowl with the wet ingredients.
- Whisk everything together until it’s well combined.
- Now it's time to add the flour.
- Instead of pouring in all the flour at once, add it a little at a time.
- Mix after each addition.
- As the dough becomes thicker, you’ll notice it getting harder to stir with the whisk.
- That’s completely normal.
- Switch to a wooden spoon, sturdy spatula, or clean hands once the dough becomes too thick.
Step 4: Knead the Dough
- Once all the flour has been incorporated, transfer the dough onto a lightly floured surface.
- Now begin kneading.
- Push the dough forward with the heel of your hand, fold it back toward yourself, then turn it slightly and repeat.
- Keep kneading for about 8 to 10 minutes.
- At first, the dough may feel slightly sticky, but try not to add too much extra flour.
- Adding too much flour is one of the biggest reasons Gateau becomes hard instead of soft.
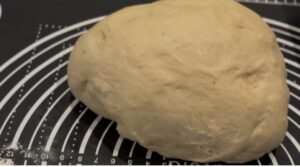
- The dough is ready when it feels smooth, soft, and slightly elastic.
- When you gently press it with your finger, it should slowly spring back.
If the dough sticks to your hands, lightly grease your hands with a little oil instead of adding lots of flour. This helps keep the dough soft.
Step 5: Let the Dough Rise
- Lightly grease a clean bowl with a little oil or butter.
- Place the dough inside and turn it once so all sides are lightly coated.
- Cover the bowl with a clean kitchen towel or plastic wrap.
- Now let the dough rise in a warm place until it doubles in size.
- Depending on how warm your kitchen is, this usually takes 1½ to 2 hours.
- Don’t rush this step.
- Check dough, It should look puffed up, airy, and feel much lighter than before.
- If you gently press it with your finger, the indentation should remain instead of bouncing back immediately.
- That’s a good sign the dough has fermented properly.
Step 6: Prepare the Oil
- About 15 minutes before you’re ready to fry, start heating your oil.
- Use enough vegetable oil so the Gateau can float freely while cooking.
- Keep the heat at medium.
- Oil that’s too hot browns the outside very quickly while leaving the inside raw.
- Oil that’s too cool allows the dough to absorb too much oil, making the finished Gateau greasy.
- One simple trick I use is to dip the end of a wooden spoon or toothpick into the oil.
- If you see small bubbles forming around it, the oil is ready.
Step 7: Shape the Gateau
- Once the dough has finished rising, gently press it down to remove some of the large air pockets.
- You don’t need to knead it again.
- Lightly grease your hands with a little oil.
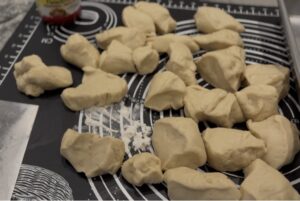
- Pinch off a small piece of dough and gently roll it between your palms until you have a smooth ball.
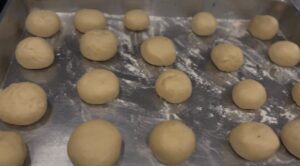
- Try to keep the pieces about the same size.
- That way they’ll cook evenly.
Step 8: Fry Until Golden Brown
- Carefully lower a few pieces of dough into the hot oil.
- Don’t overcrowd the pot.
- The Gateau needs room to expand as it cooks.
- As soon as they begin floating, gently turn them using a slotted spoon.
- Keep turning them every so often.
- This helps every side cook evenly and gives you that beautiful golden-brown color all around.
- After several minutes, they’ll become puffed, evenly browned, and smell absolutely amazing.
- Lift them out with a slotted spoon and place them on a cooling rack or a paper towel-lined tray to drain any excess oil.
- Continue frying the remaining dough in batches until everything is cooked.
How to Know Your Gateau Is Perfect
- When you break one open, the inside should be soft, fluffy, and evenly cooked from the center all the way to the edges.The outside should have a light golden crust that's slightly crisp without feeling hard.Every bite should be rich, buttery, lightly sweet, and wonderfully soft.
- One of the reasons I love this recipe so much is that you don’t have to use all the dough for frying.
Make Homemade Bread Rolls Too
- If you’d like fresh homemade bread, simply divide some of the dough into equal portions and shape each one into a smooth ball.
- Arrange them in a greased baking dish, leaving a little space between each one.
- Cover and let them rise again until they’re nice and puffy.
- Brush the tops with melted butter for a beautiful golden finish.
- Bake in a preheated 350°F (175°C) oven for 20–25 minutes, or until the tops are lightly golden.
- As soon as they come out of the oven, brush them with another light coating of melted butter.
- This keeps the crust soft and gives the rolls a beautiful shine.
- The result is fluffy homemade bread that’s perfect with butter, jam, eggs, soups, or your favorite sandwich fillings.
Cook With Sonita: Tips
- Over the years, I’ve learned that making soft Gateau isn’t about using fancy ingredients. It’s the little details that make the biggest difference. These are the same tips I use every time I make this recipe, and they’ve helped me get consistent results.
Measure Your Flour Properly
- One of the most common reasons Gateau turns out hard is using too much flour.
- If you’re scooping directly from the bag, you can easily pack extra flour into your measuring cup without realizing it. Instead, fluff the flour first, spoon it into the measuring cup, and level it off with the back of a knife.
- A soft dough makes soft Gateau.
Use Warm Water, Not Hot Water
- Yeast is a living ingredient, so temperature matters.
- The water should feel warm to the touch, similar to warm bath water. If it’s too hot, it can kill the yeast. If it’s too cold, the yeast won’t activate properly.
- When in doubt, it’s better for the water to be slightly warm than too hot.
Be Patient with the Rising Time
- The yeast needs time to create tiny air pockets throughout the dough.
- If your kitchen is cool, the dough may take a little longer to rise. That’s completely normal.
- Rather than watching the clock, look at the dough. Once it has doubled in size and feels light and airy, it’s ready.
Don’t Keep Adding Flour
- It’s normal for the dough to feel a little sticky at first.
- Instead of adding lots of extra flour, lightly grease your hands with oil or butter while kneading.
- Too much flour can make the finished Gateau dry and heavy.
Fry Over Medium Heat
- The oil temperature can make or break your Gateau.
- If the oil is too hot, the outside will brown too quickly while the inside stays raw.
- If it’s too cool, the dough absorbs oil and becomes greasy.
- Medium heat gives the best balance, allowing the Gateau to cook evenly all the way through.
Turn the Gateau While Frying
- Don’t leave the Gateau sitting on one side.
- As they float, gently turn them every now and then.
- This helps them cook evenly and gives them that beautiful golden color all around.

Fry in Small Batches
- It’s tempting to add lots of dough at once, especially when you’re making a big batch.
- Try not to.
- Adding too many pieces at once lowers the oil temperature, which can lead to greasy Gateau.
- Cooking in smaller batches gives much better results.
Drain Properly
- After frying, place the Gateau on a cooling rack or a paper towel-lined tray.
- This allows any excess oil to drain while keeping the outside lightly crisp.
- Enjoy!

Nutrition
Video
Notes
Common Mistakes (And How to Fix Them)
Everyone has a batch that doesn’t turn out perfectly from time to time. If something goes wrong, don’t worry. Here’s what may have happened and how to fix it next time.My Gateau Didn’t Rise
This is usually caused by inactive yeast. Check that your yeast isn’t expired and make sure the water wasn’t too hot or too cold. If the yeast didn’t become foamy during the first step, it’s best to start over with fresh yeast.My Gateau Is Hard
This usually happens when:- Too much flour was added.
- The dough didn’t rise long enough.
- The Gateau was fried for too long.
